First Login
Opening DiKAS
Open a browser (Chrome, Firefox, Edge) and enter the address of your DiKAS system:
- On the POS PC:
https://localhost— DiKAS opens directly - On the network:
https://192.168.1.100(IP address of your server) - Android app: Opens automatically
DiKAS uses HTTPS (port 443) with a self-signed certificate. When you first open it in a browser, an SSL security warning appears — this is normal and not an error:
- Click "Advanced" (or "Show details")
- Click "Proceed to ... (unsafe)" or "Accept the risk"
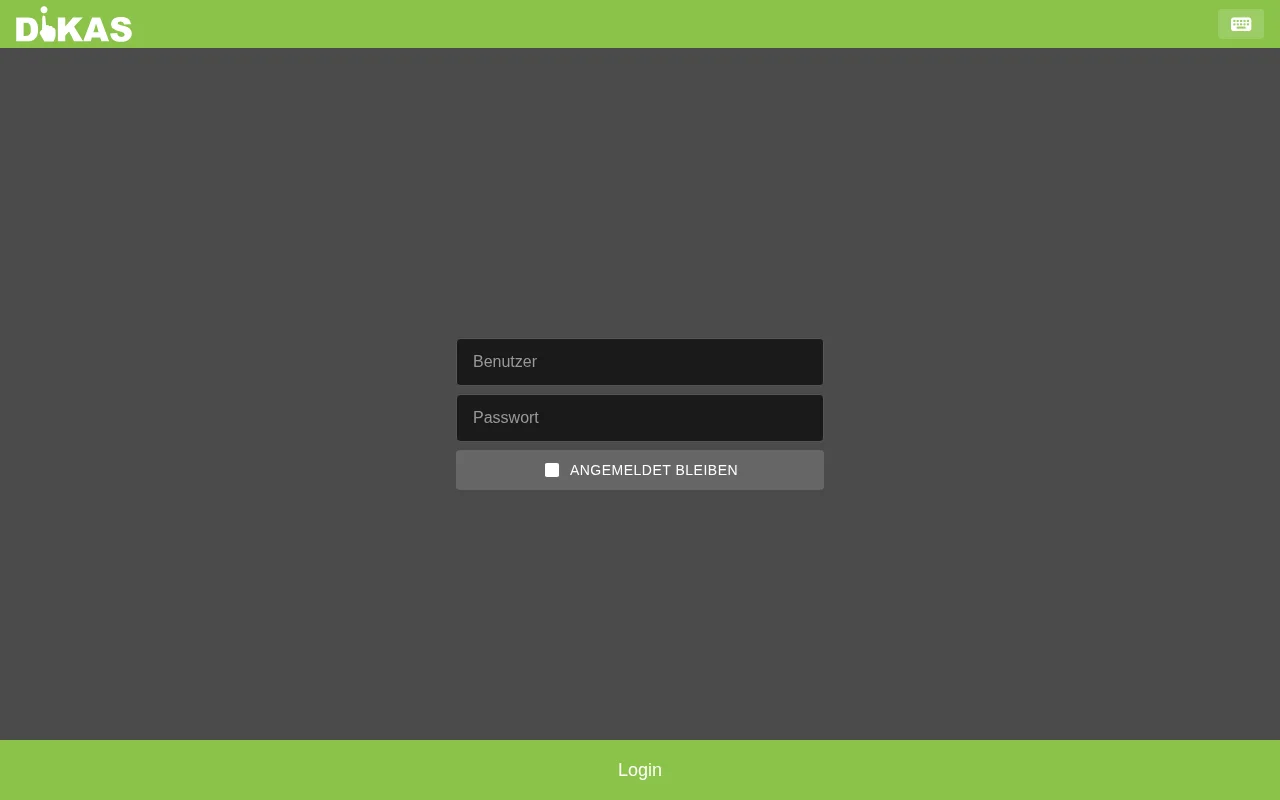
- The login screen appears
SSL Warning
The warning appears because the certificate is not issued by a public certificate authority. The connection is still encrypted. The warning only needs to be confirmed once per browser.
You will see the login screen with the DiKAS logo.
Logging In
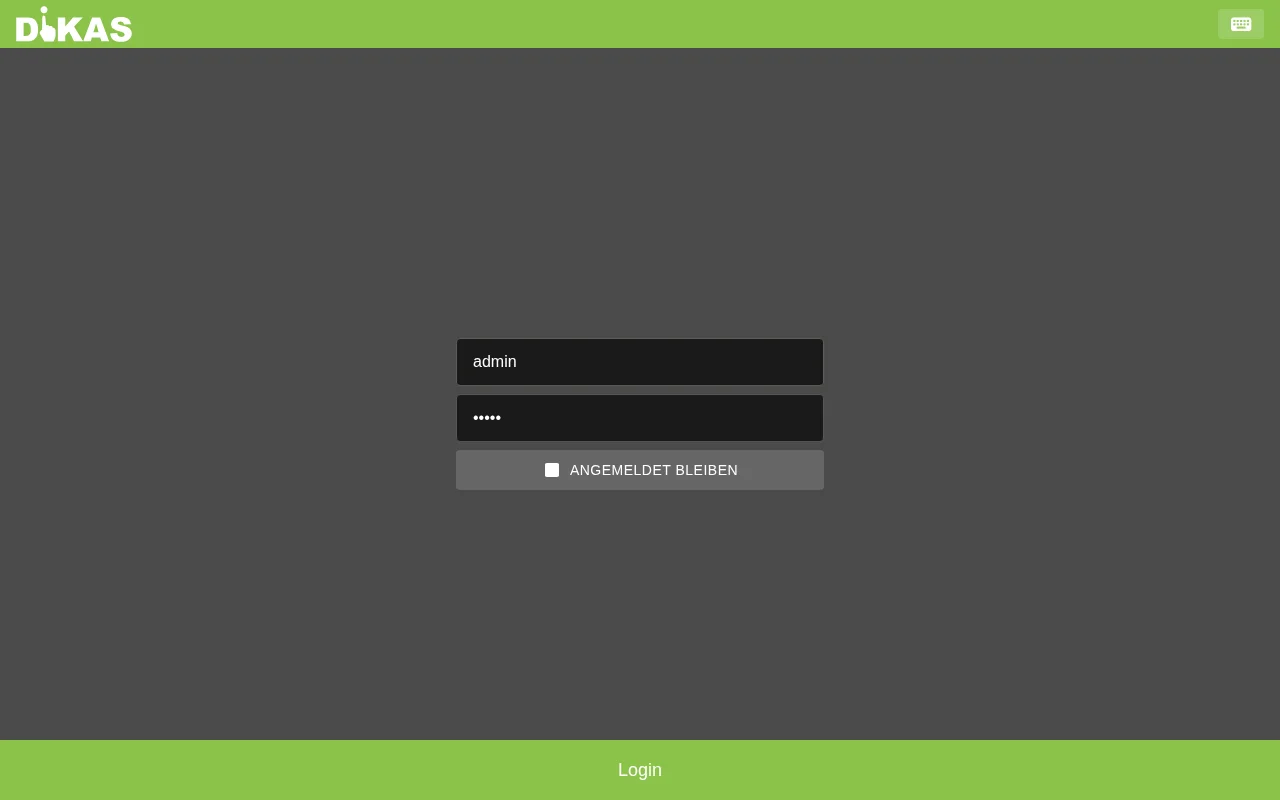
| Field | Default value | Description |
|---|---|---|
| Username | admin |
Your username |
| Password | admin |
Your password |
Click "Anmelden" (Log in).
⚠️ Important: Change the default password after your first login under Admin → Personal → [Admin user] → Passwort.
Remember login: Enable the "Angemeldet bleiben" (Stay logged in) checkbox so you don't have to re-enter your credentials the next time you open DiKAS.
🖥️ Getting to Know the Interface
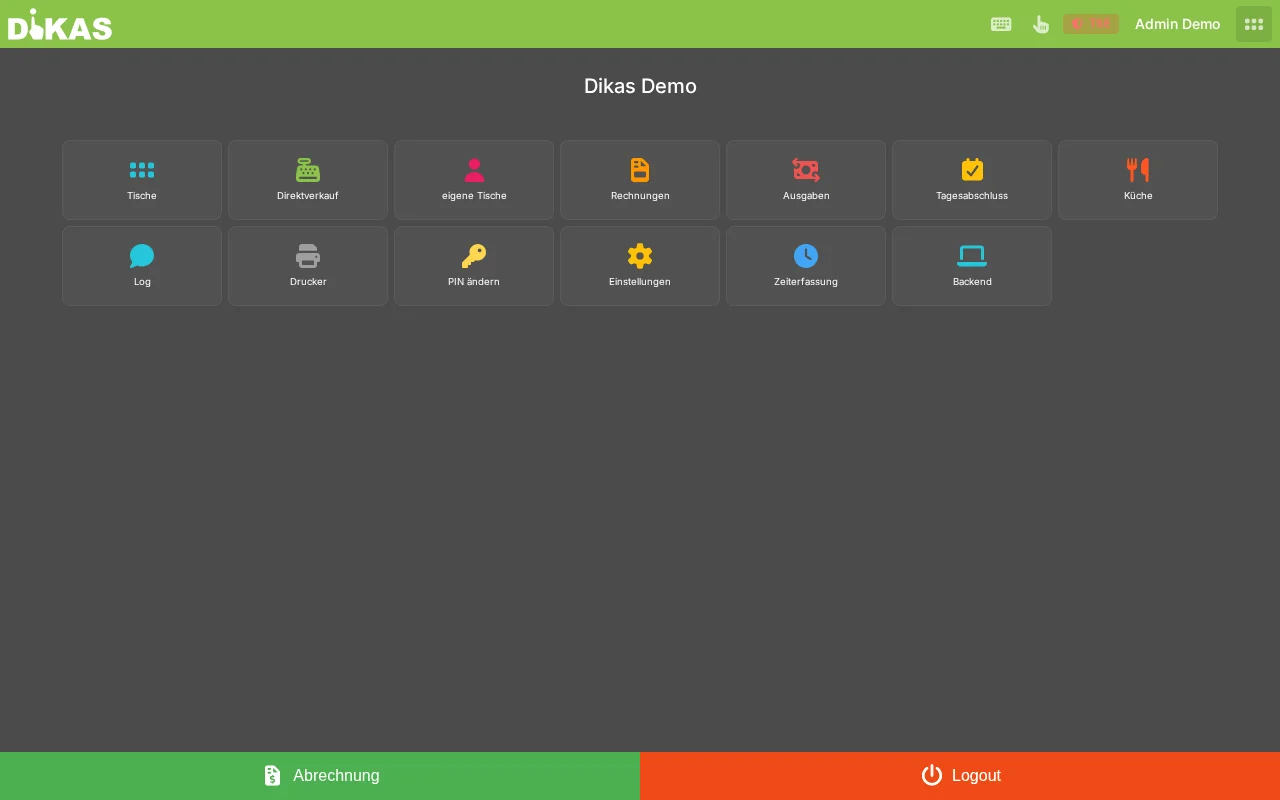
After logging in, you are in the POS view. DiKAS has two main areas:
POS Area
The workspace for daily operations. Here you process payments, manage tables, and take orders.
DiKAS has two views — depending on whether you work with or without tables:
Direct sale (takeaway, counter, bakery) — Article groups on the left, articles as tiles, receipt on the right:
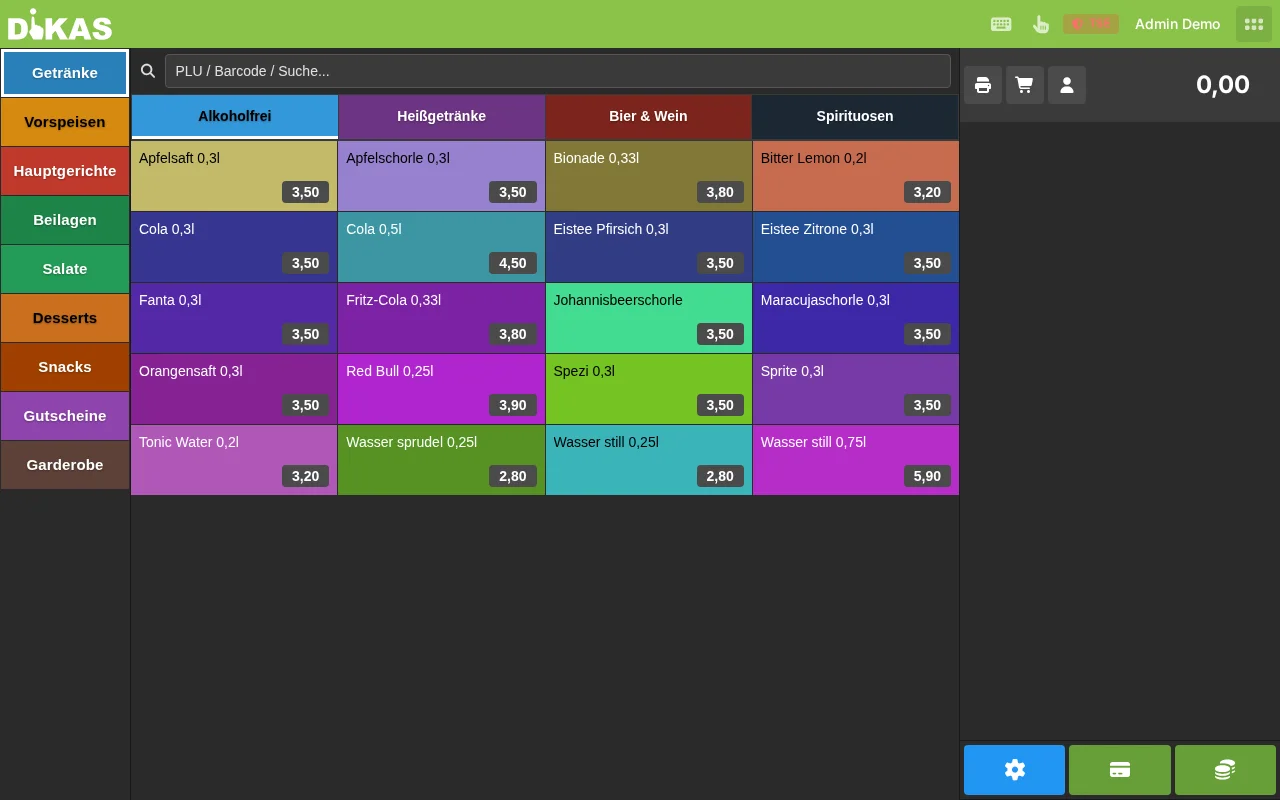
Table service (restaurant, café) — first the table overview with all sections:

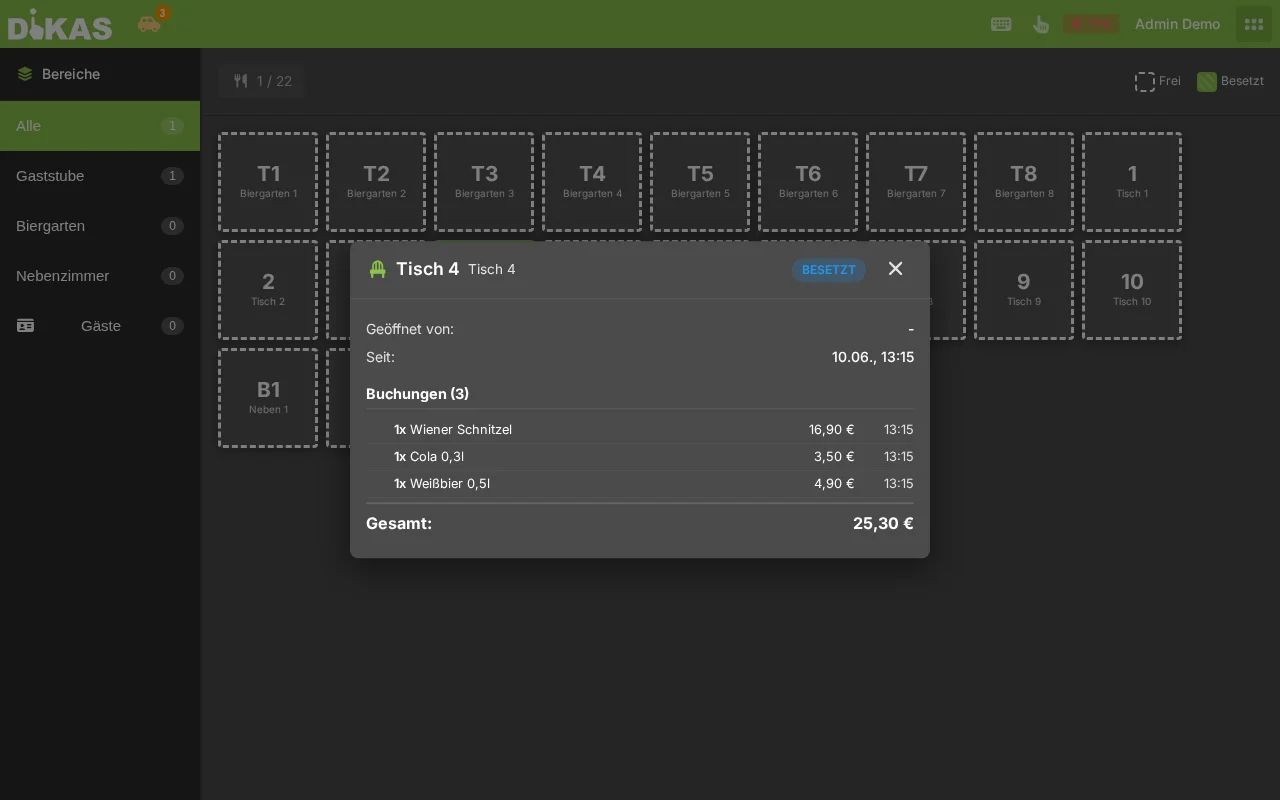
After tapping a table, the article view with receipt opens:
Header bar (top):
| Element | Description |
|---|---|
| DiKAS logo | Click to open the main menu |
| Delivery / Online | Visible when delivery service / online ordering is enabled |
| Employee name | Who is currently logged in (click → staff switch or log out) |
| Virtual keyboard | On-screen keyboard on/off (for touchscreens) |
| Menu (☰) | Access to POS, Admin, time clock, log out |
Admin Area
The management area for settings, articles, customers, and reports. Only visible to authorized staff.
Sidebar in the Admin area:
| Menu item | Description |
|---|---|
| Dashboard | Revenue overview, daily trends |
| Articles | Manage menu, groups, prices |
| Customers | Customer master data, credit, invoices |
| Staff | Employees, permissions, shifts |
| Cash Book | Receipts, expenses, end-of-day reports |
| Reports | Revenue, article, and hourly analysis |
| Tables | Table groups and arrangement |
| Settings | System configuration (9 tabs) |
| Data Import | Article import, backup & restore |
Conditional menu items (only visible when enabled under Settings → Betrieb):
| Menu item | Prerequisite |
|---|---|
| HACCP | Settings → Betrieb → HACCP |
| Workshop | Settings → Betrieb → Werkstatt |
| Time Tracking | Settings → Betrieb → Zeiterfassung |
| Finances | Settings → Betrieb → Finanzen |
| Disco | Settings → Betrieb → Disco |
Switching Between POS and Admin
| Action | Description |
|---|---|
| POS → Admin | Menu (☰) → "Admin" or sidebar icon |
| Admin → POS | "Zurück zur Kasse" (Back to POS) button in the Admin sidebar |
💡 Tip: You can open multiple browser tabs — one for the POS, one for the Admin area. Changes are synchronized in real time.
📱 Multiple Devices
DiKAS is a web-based system — you can use it on any number of devices simultaneously:
| Device | Use case |
|---|---|
| Touch PC at the counter | Main POS, direct sale |
| Tablet in the service area | Taking table orders |
| PC in the office | Admin, reports, accounting |
| Smartphone | Quick status check |
All devices access the same data. Orders, payments, and table status are updated in real time on all devices via SignalR.
Logging Out
Click your employee name in the header bar → "Abmelden" (Log out).
During daily operations, use the staff switch instead of a full logout — this lets employees switch quickly via PIN or NFC card without closing the browser.
Next Step
→ Basic Setup — Configure business name, tax rates, and printers