First Sale¶
Now let's process some sales! This chapter shows you step by step how to complete your first sale — from a simple direct sale to table service with split payment.
Direct Sale (without tables)¶
The simplest way: select articles, check out, done.
Step 1: Select Articles¶
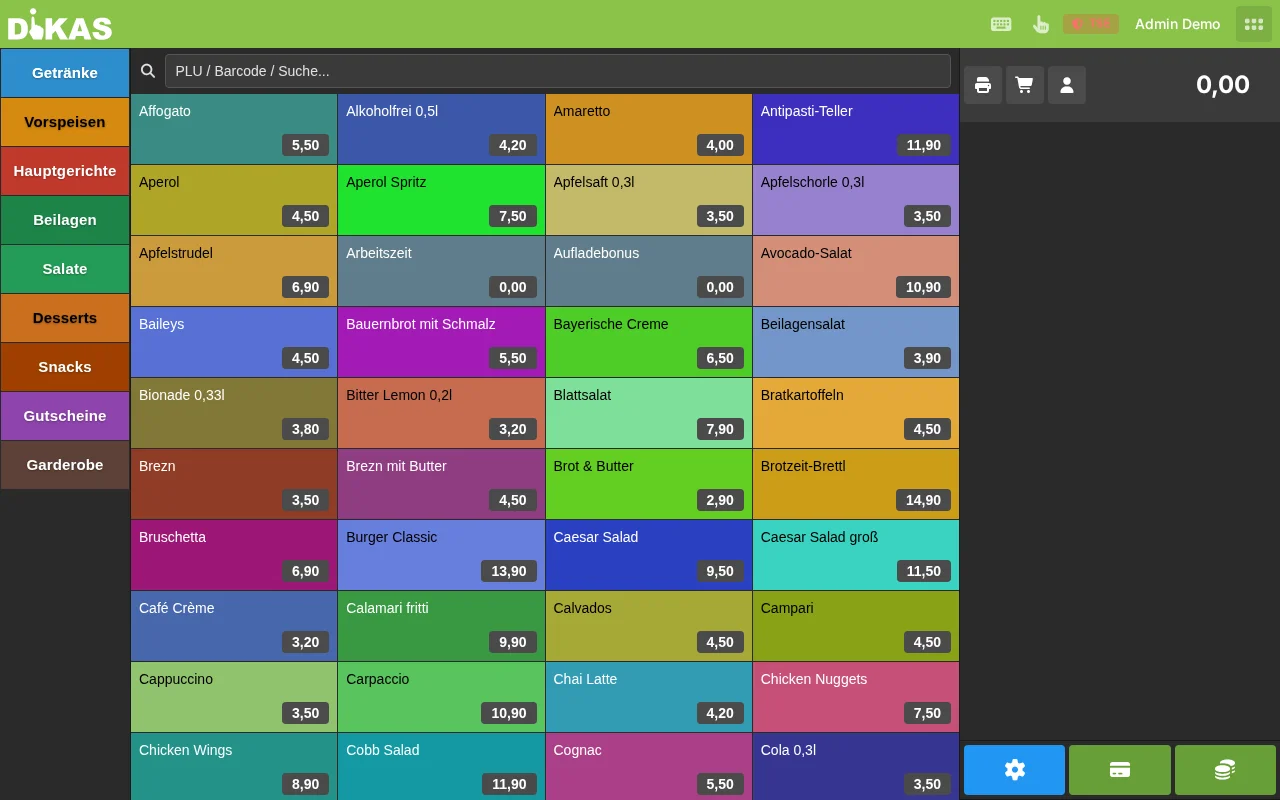
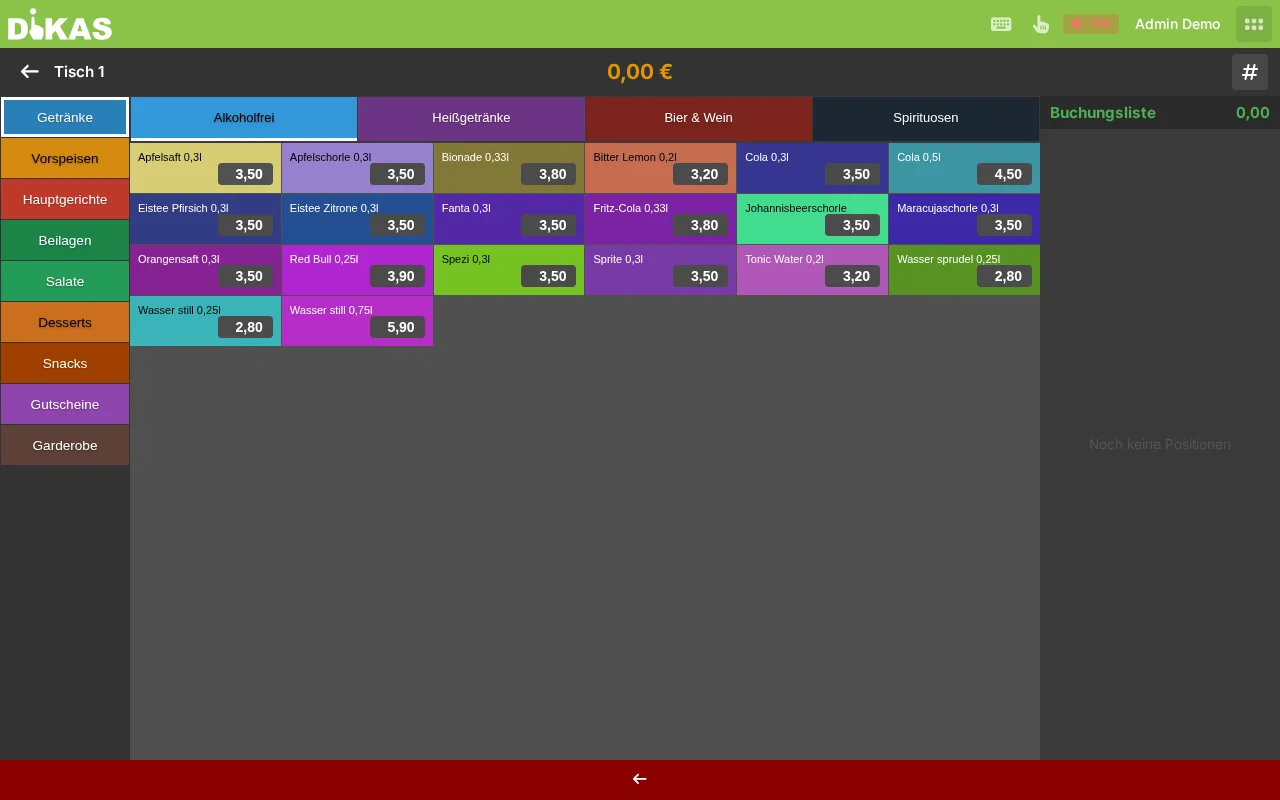
- Switch to the POS (click "Kasse" in the header bar)
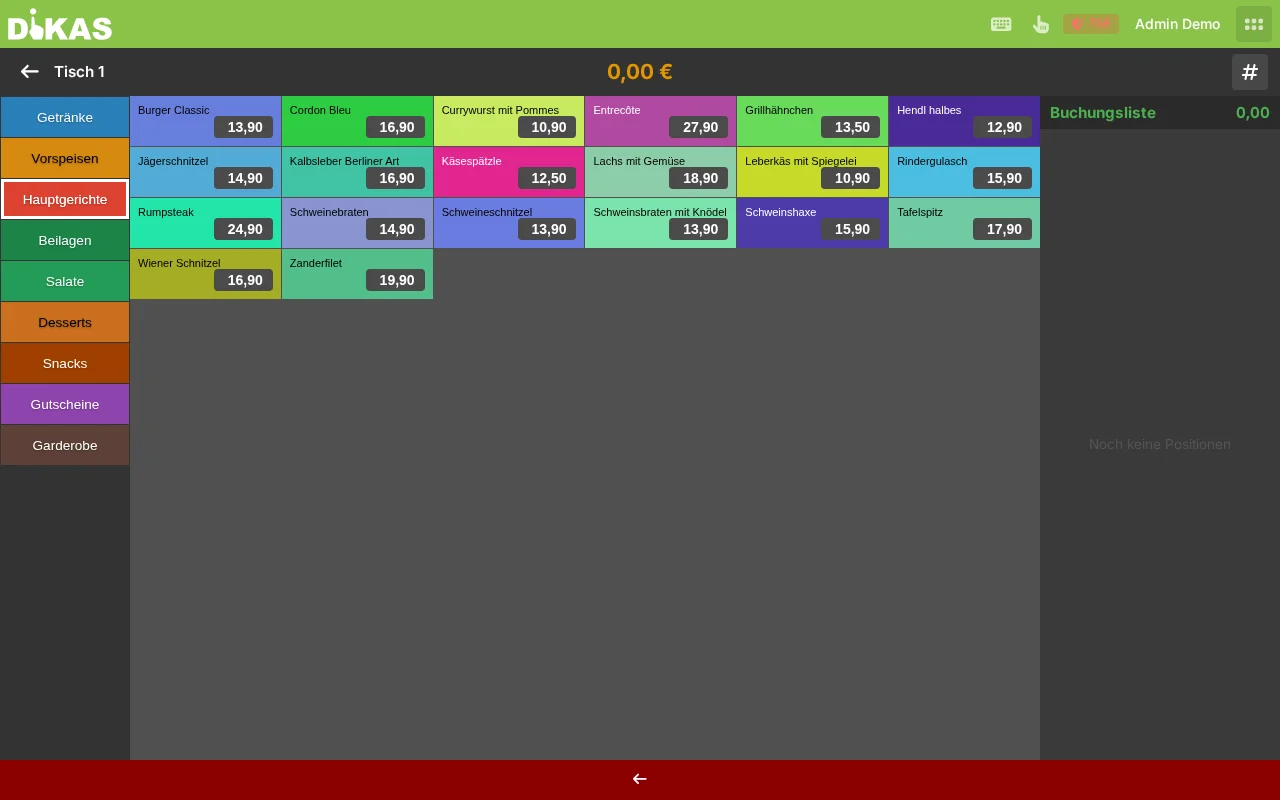
- You see the article groups as colored tiles
- Tap a group (e.g., "Getränke" / Beverages)
- Tap an article (e.g., "Cola 0,3l")
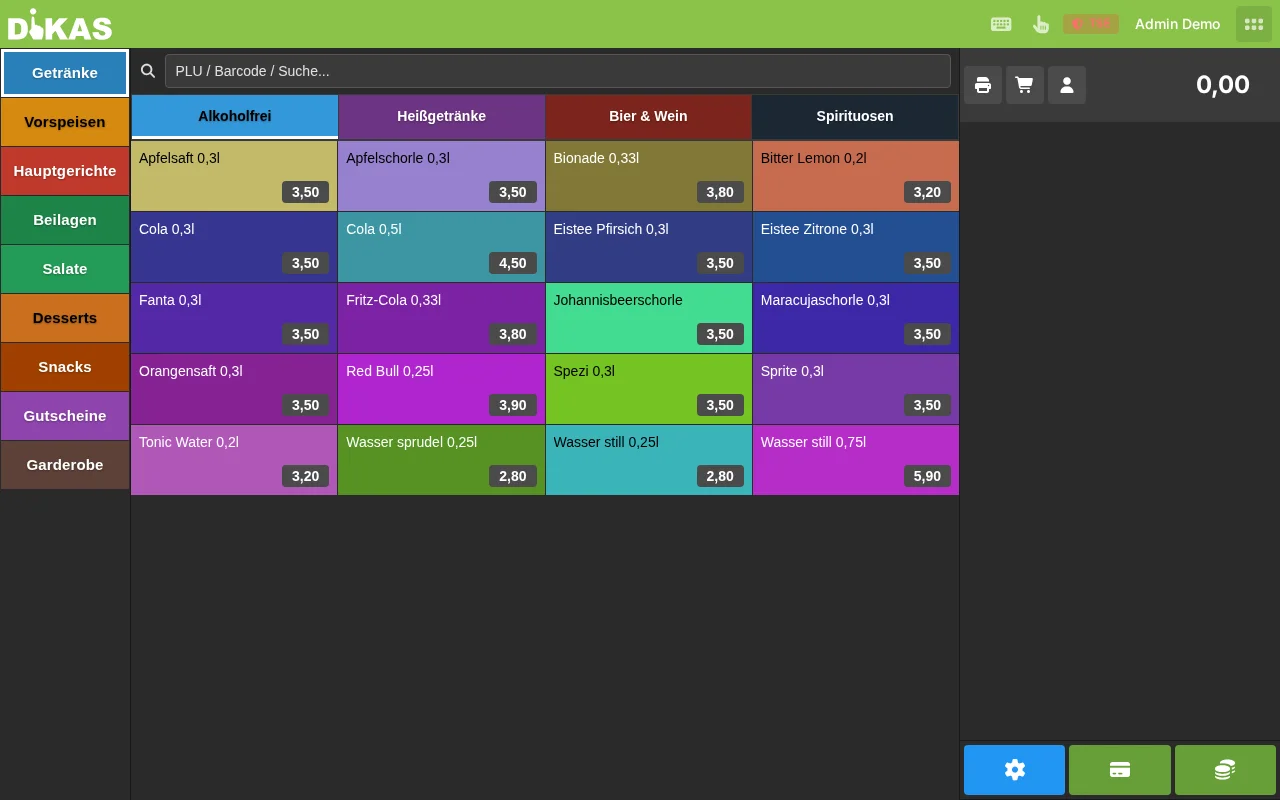
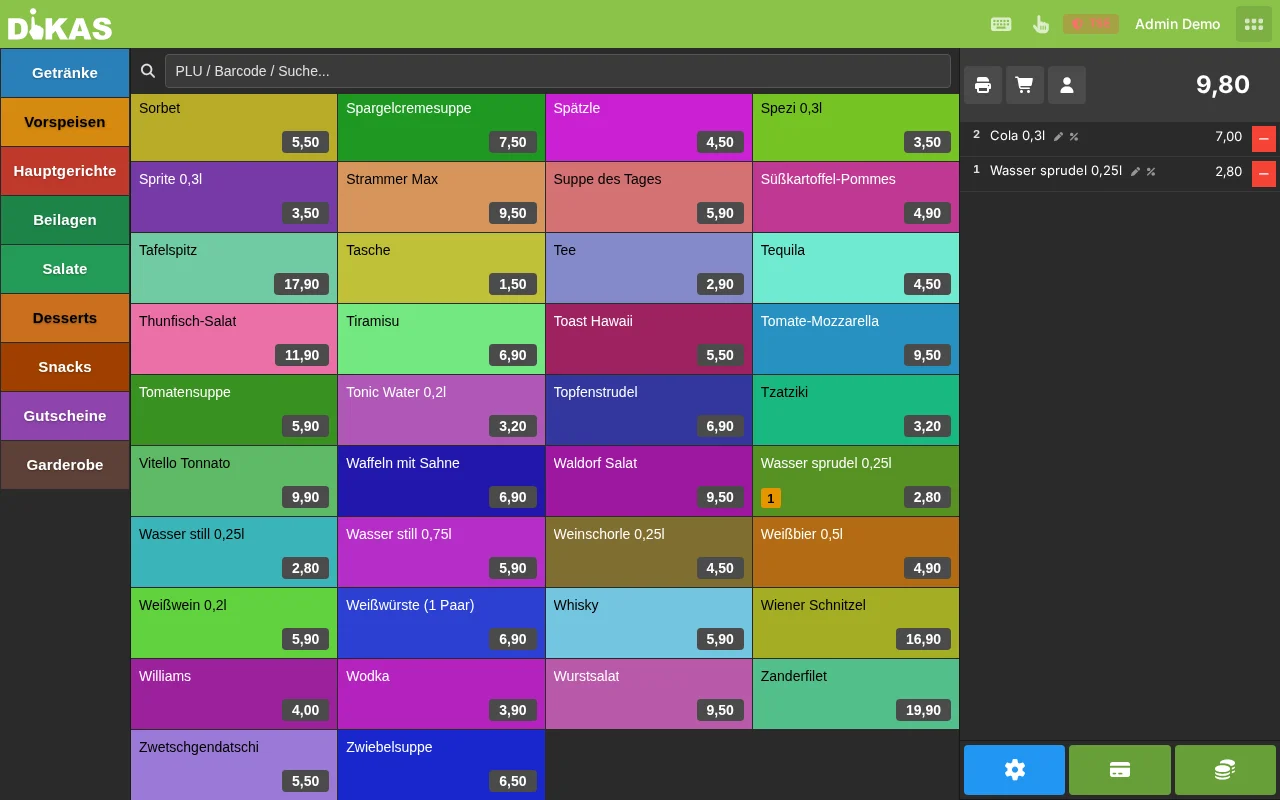
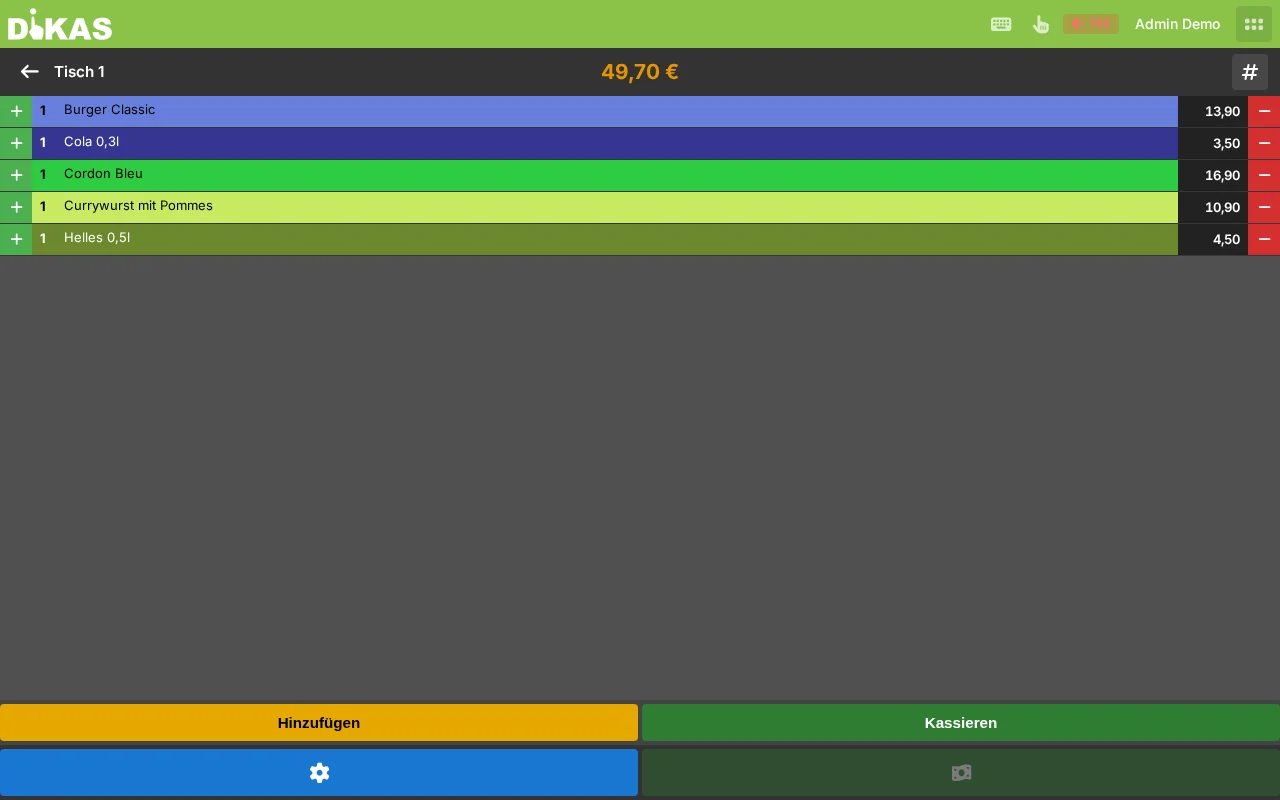
The article appears on the receipt (right side):
Step 2: Add More Articles¶
- Same article again? Simply tap it again → the quantity increases
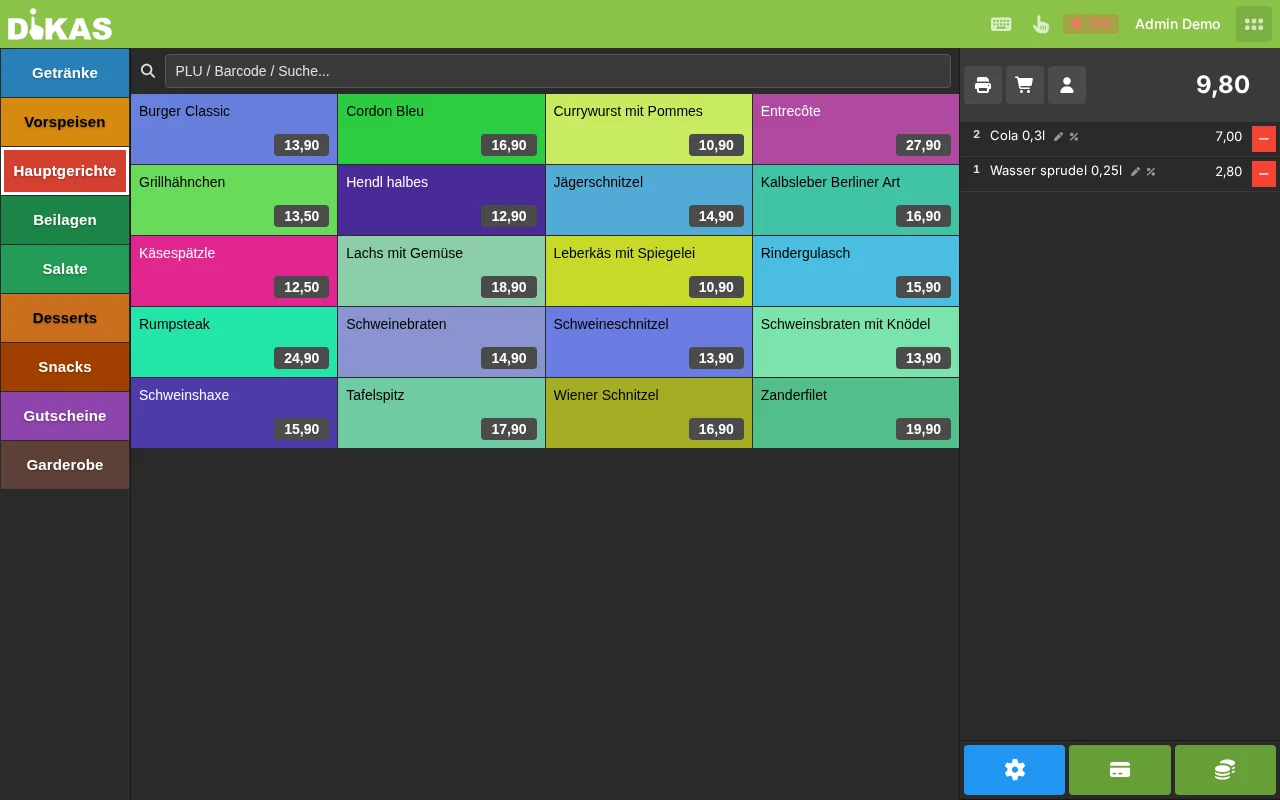
- Different article? Switch group and tap
- Change quantity? Tap the article on the receipt → enter quantity
- Article with options? For articles with extras (e.g., pizza toppings), the options dialog opens automatically

  Bon
──────────────────────────────
  2× Cola 0,3l          7,00
  1× Weizen 0,5l        4,20
  1× Pizza Margherita    9,50
──────────────────────────────
  Gesamt:               20,70
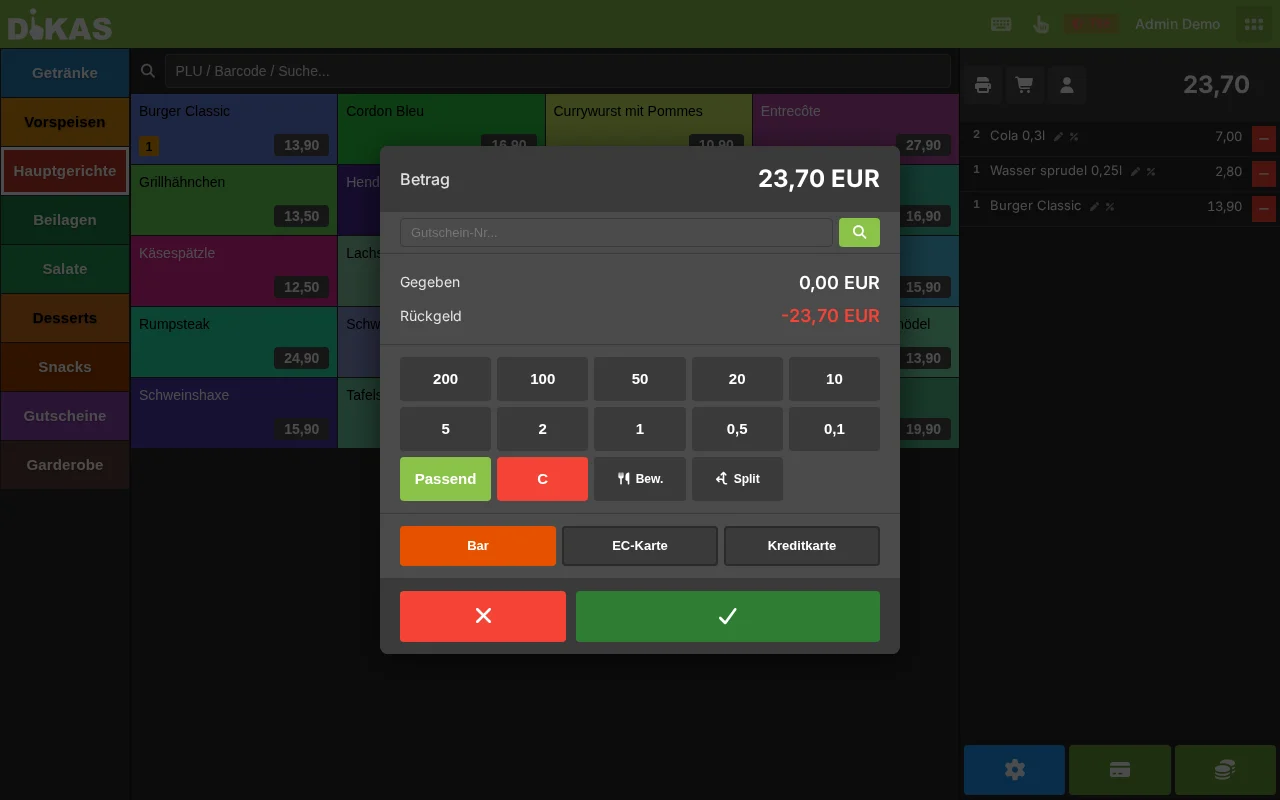
Step 3: Check Out¶
- Tap "Zahlen" (Pay) (or the total amount)
- Select the payment method
- The receipt is printed (if a printer is configured)

💳 Payment Methods¶
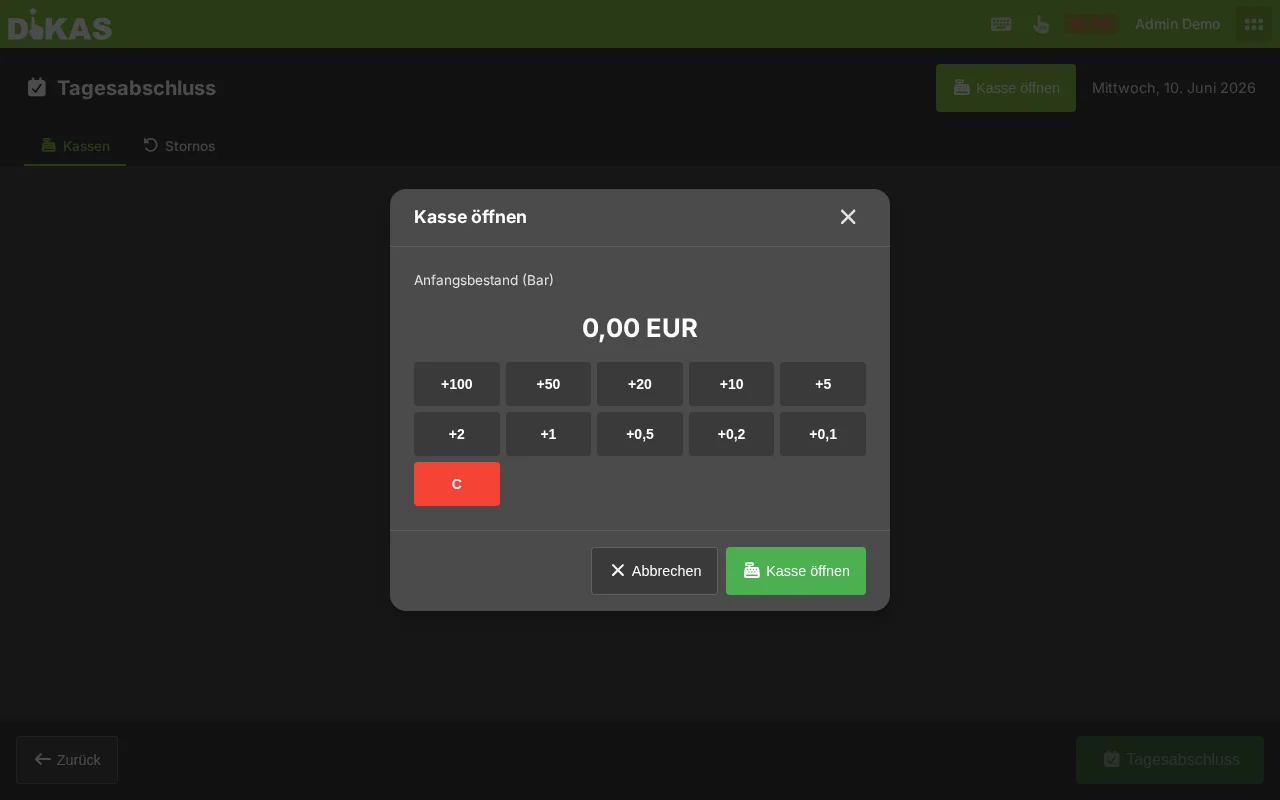
Cash Payment¶
- Select "Bar" (Cash)
- Enter the amount received (e.g., 50.00 €)
- DiKAS automatically calculates the change
💡 Tip: Tap one of the quick-select buttons (10 €, 20 €, 50 €) for common amounts.
Debit Card Payment¶
- Select "EC-Karte" (Debit card)
- The card terminal is automatically activated (ZVT protocol)
- Customer pays at the terminal (insert card or contactless)
- After successful payment, the receipt is finalized
Split Payment (by payment method)¶
When a guest pays partly in cash, partly by card:
- "Zahlen" (Pay) → select the first payment method (e.g., "Bar" / Cash)
- Enter a partial amount (e.g., 10.00 €)
- The remaining amount is settled with a second payment method (e.g., "EC-Karte" / Debit card)
You can combine any number of payment methods: cash + card, card + customer credit, cash + voucher, etc.
Customer Credit¶
When the customer has a credit account:
- Select the customer in the POS (search field or customer card)
- The available credit is displayed
- Select "Kundenguthaben" (Customer credit) as the payment method
- The amount is deducted from the customer account
DiKAS automatically applies bonus credit (promotions) first, then account credit (deposited money).
Redeeming a Voucher¶
- Select "Gutschein" (Voucher) as the payment method
- Enter the voucher code (or scan it)
- The voucher value is applied
- Voucher not enough? Settle the remaining amount with another payment method
Selling a voucher: Create a voucher article (tax class 0% for value vouchers). When sold, a voucher with a unique code is automatically created.
House Tab (on account)¶
For corporate customers or regulars who pay monthly:
- Select the customer
- Select "Hausbon" (House tab) as the payment method
- The amount is posted to the customer's invoice
- At the end of the month: create a consolidated invoice (Admin → Kunden → Rechnungen)
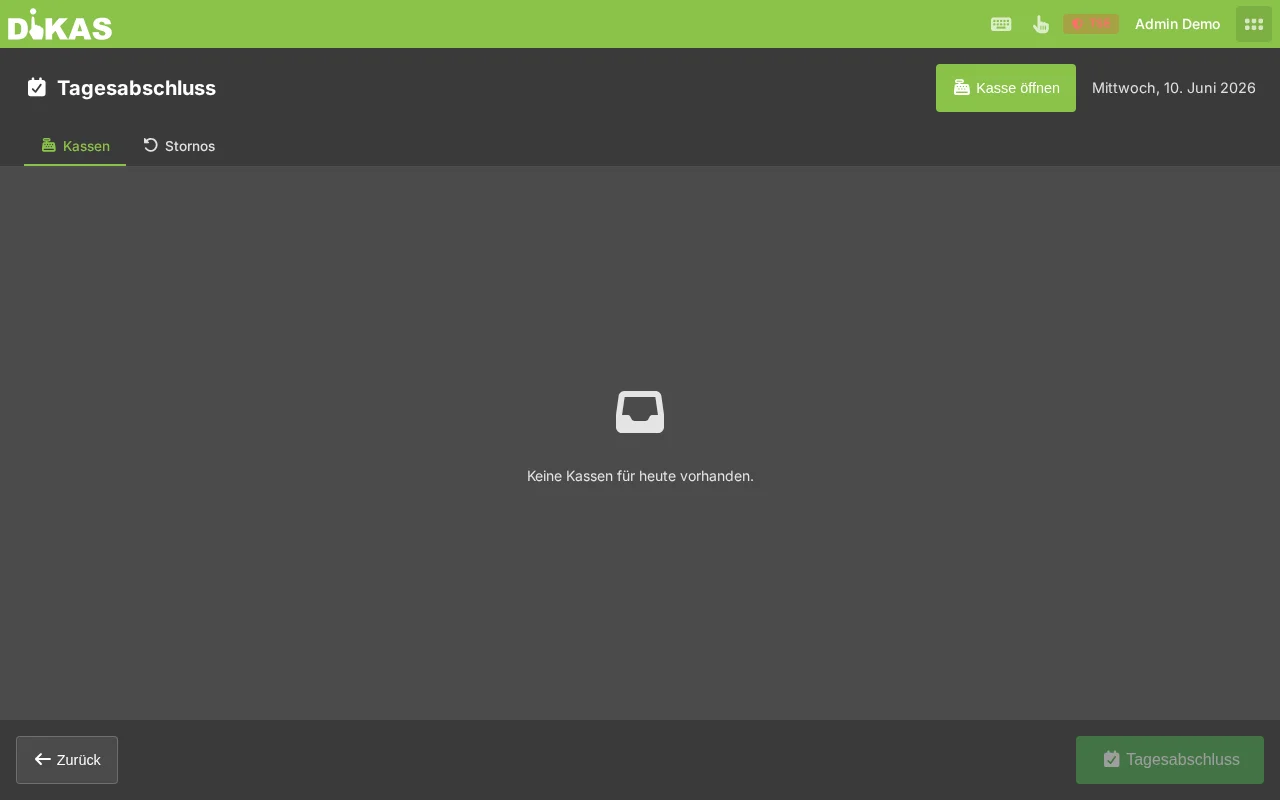
Table Service (Restaurant)¶
When working with tables, the process runs in two phases: first order, then check out.
Phase 1: Placing Orders¶
- In the table overview: Tap a free (green) table
- The table turns blue (occupied)
- Select articles as in direct sale
- Tap "Bestellen" (Place order) (not "Zahlen"!)
- The order is sent to kitchen and bar printers
- The table remains open for further orders


Phase 2: Additional Orders¶
- Tap the (blue) table
- You see the previous orders
- Add new articles
- Tap "Bestellen" (Place order)
Phase 3: Checking Out¶
When the guest wants to pay:
- Tap the table
- Tap "Zahlen" (Pay)
- All together? → Select payment method, done
- Split payment? → See next section
Split Payment¶
Splitting by Items¶
Table 5 has ordered: 2× Cola (7.00 €), 1× Weizen (4.20 €), 2× Pizza (19.00 €)
Guest A wants to pay: 1. Tap the items for Guest A (e.g., 1× Cola + 1× Pizza) 2. Amount: 12.50 € 3. Select payment method → Receipt is printed
Guest B pays the rest: 1. The remaining items are already selected 2. Amount: 17.70 € 3. Select payment method → Receipt is printed → Table is freed
Splitting Evenly¶
Alternatively, you can divide the total amount by the number of guests and charge the same amount each time.
Hospitality Receipt¶
For business meals where the guest needs a tax-deductible receipt (§ 4 Abs. 5 Nr. 2 EStG):
- Before checkout: Enable "Bewirtungsbeleg" (Hospitality receipt)
- Check out normally
- The hospitality note is printed on the receipt
The hospitality receipt contains the information required by the tax authorities for the 70% deductibility.
Granting a Discount¶
Prerequisite: The right "Rabatt erlauben" (Allow discount) must be enabled for the employee.
- Tap an item on the receipt
- Enter a new price (manual price reduction)
- The reduced price is shown on the receipt
Discounts are reported separately in the end-of-day report.
❌ Voiding¶
Deleting an Item (before placing the order)¶
- Tap the item on the receipt
- Tap the trash icon → Item is removed
Voiding an Ordered Item (after ordering, before payment)¶
- Tap the item on the receipt
- Select "Stornieren" (Void)
- The item is marked as voided (a void ticket is printed to kitchen/bar)
Voiding a Receipt (after payment)¶
- POS → Letzte Bons (Recent receipts) (or Admin → Kassenbuch)
- Find the receipt
- Tap "Stornieren" (Void)
- Enter a void reason (required field)
- Confirm with PIN
Void level note: Depending on your void level, you can only void your own or all receipts.
ℹ️ Note: Voids are TSE-signed and documented in the end-of-day report. For debit card payments, a refund is automatically initiated at the terminal.
Keyboard Shortcuts¶
| Key | Function |
|---|---|
| Enter | Confirm payment |
| Escape | Back / Cancel |
| Arrow keys | Navigate in lists and results |
| 0–9 | Enter amount or quantity |
Next Step¶
→ POS Operations in Detail — All POS functions at a glance